Develop Android apps with Avalonia UI and run them on WSA


Windows 11 has introduced the Windows Subsystem for Android, later abbreviated as WSA.
Similar to the Windows Subsystem for Linux, that includes a Linux operative system inside Windows 11, WSA includes an Android system in Windows 11, allowing for example to download Android apps from the Amazon store, or, like in this case, do mobile development directly on our Windows 11 machine.
Installing the Windows Subsystem for Android is very easy:
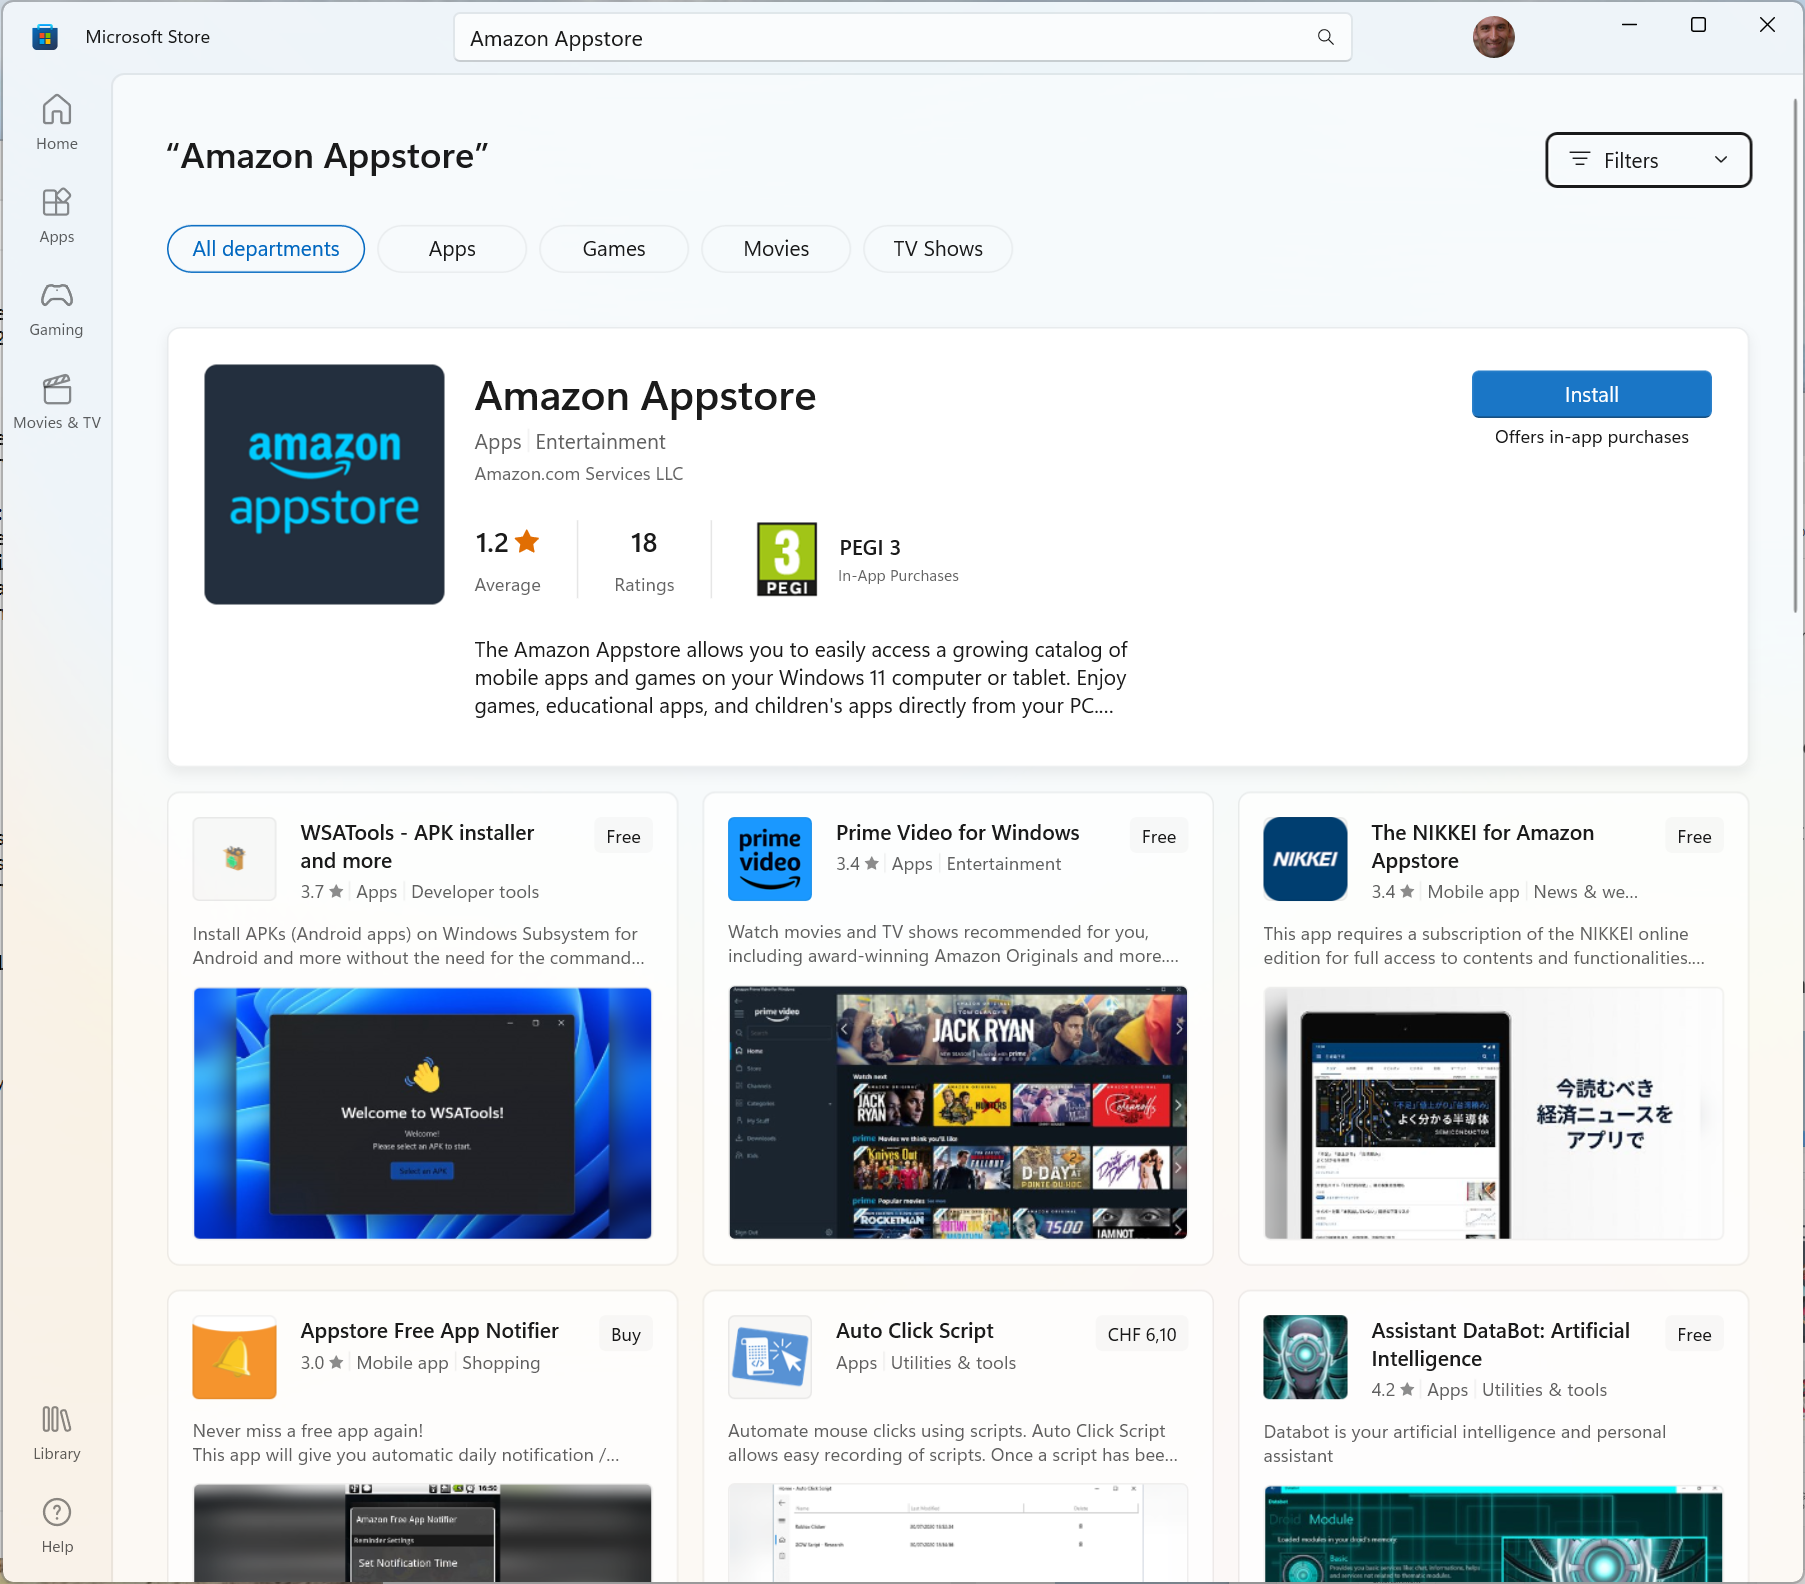
- From the Windows Store, search for the Amazon Appstore app and install it:
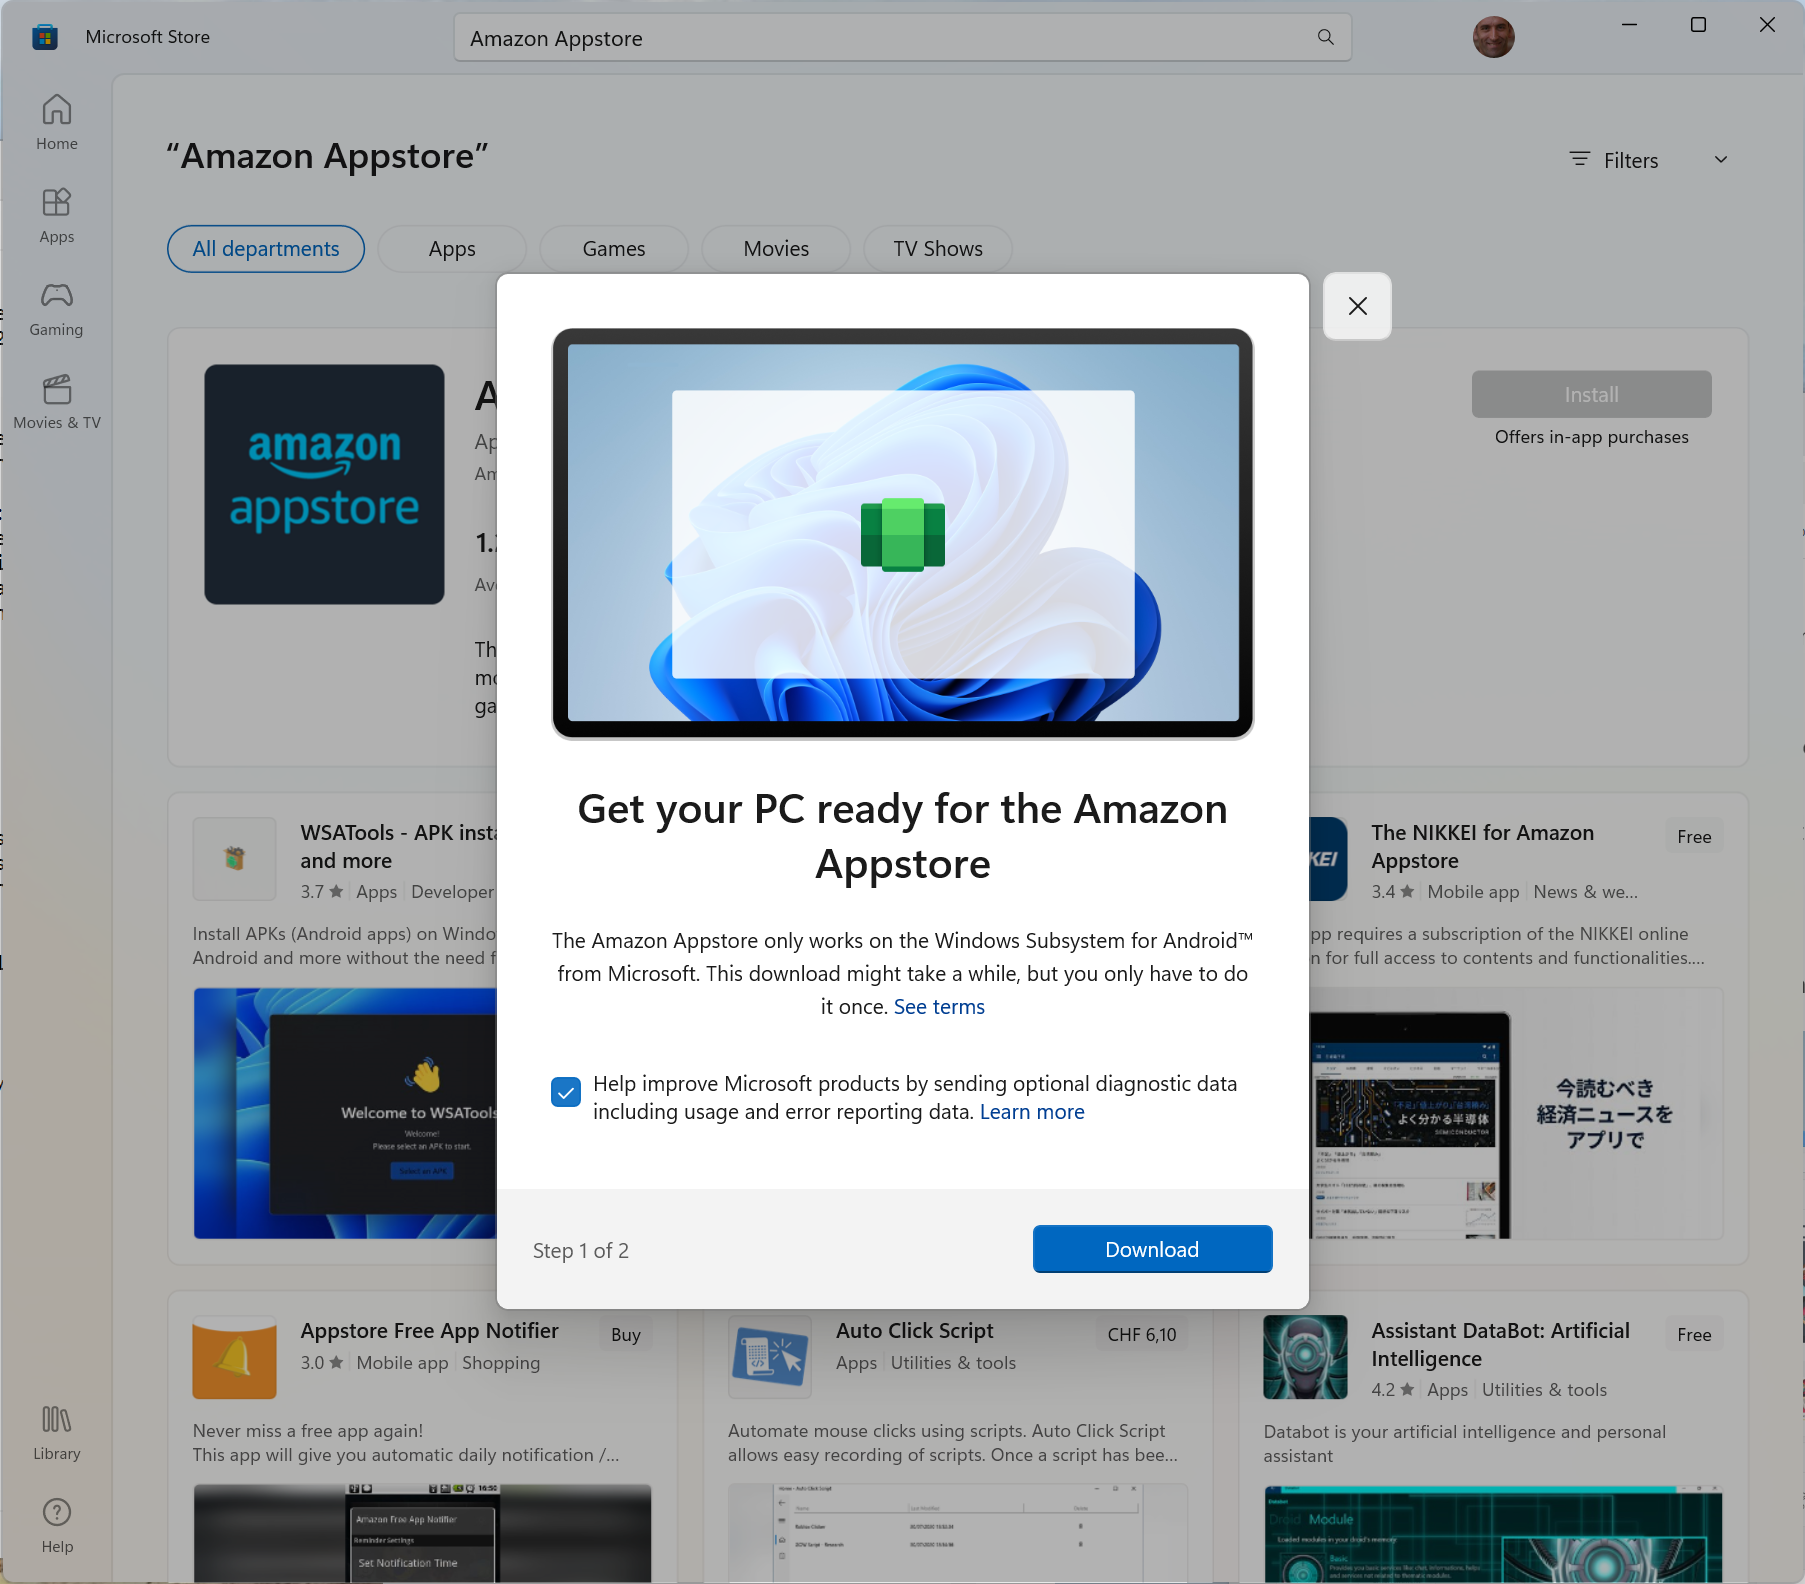
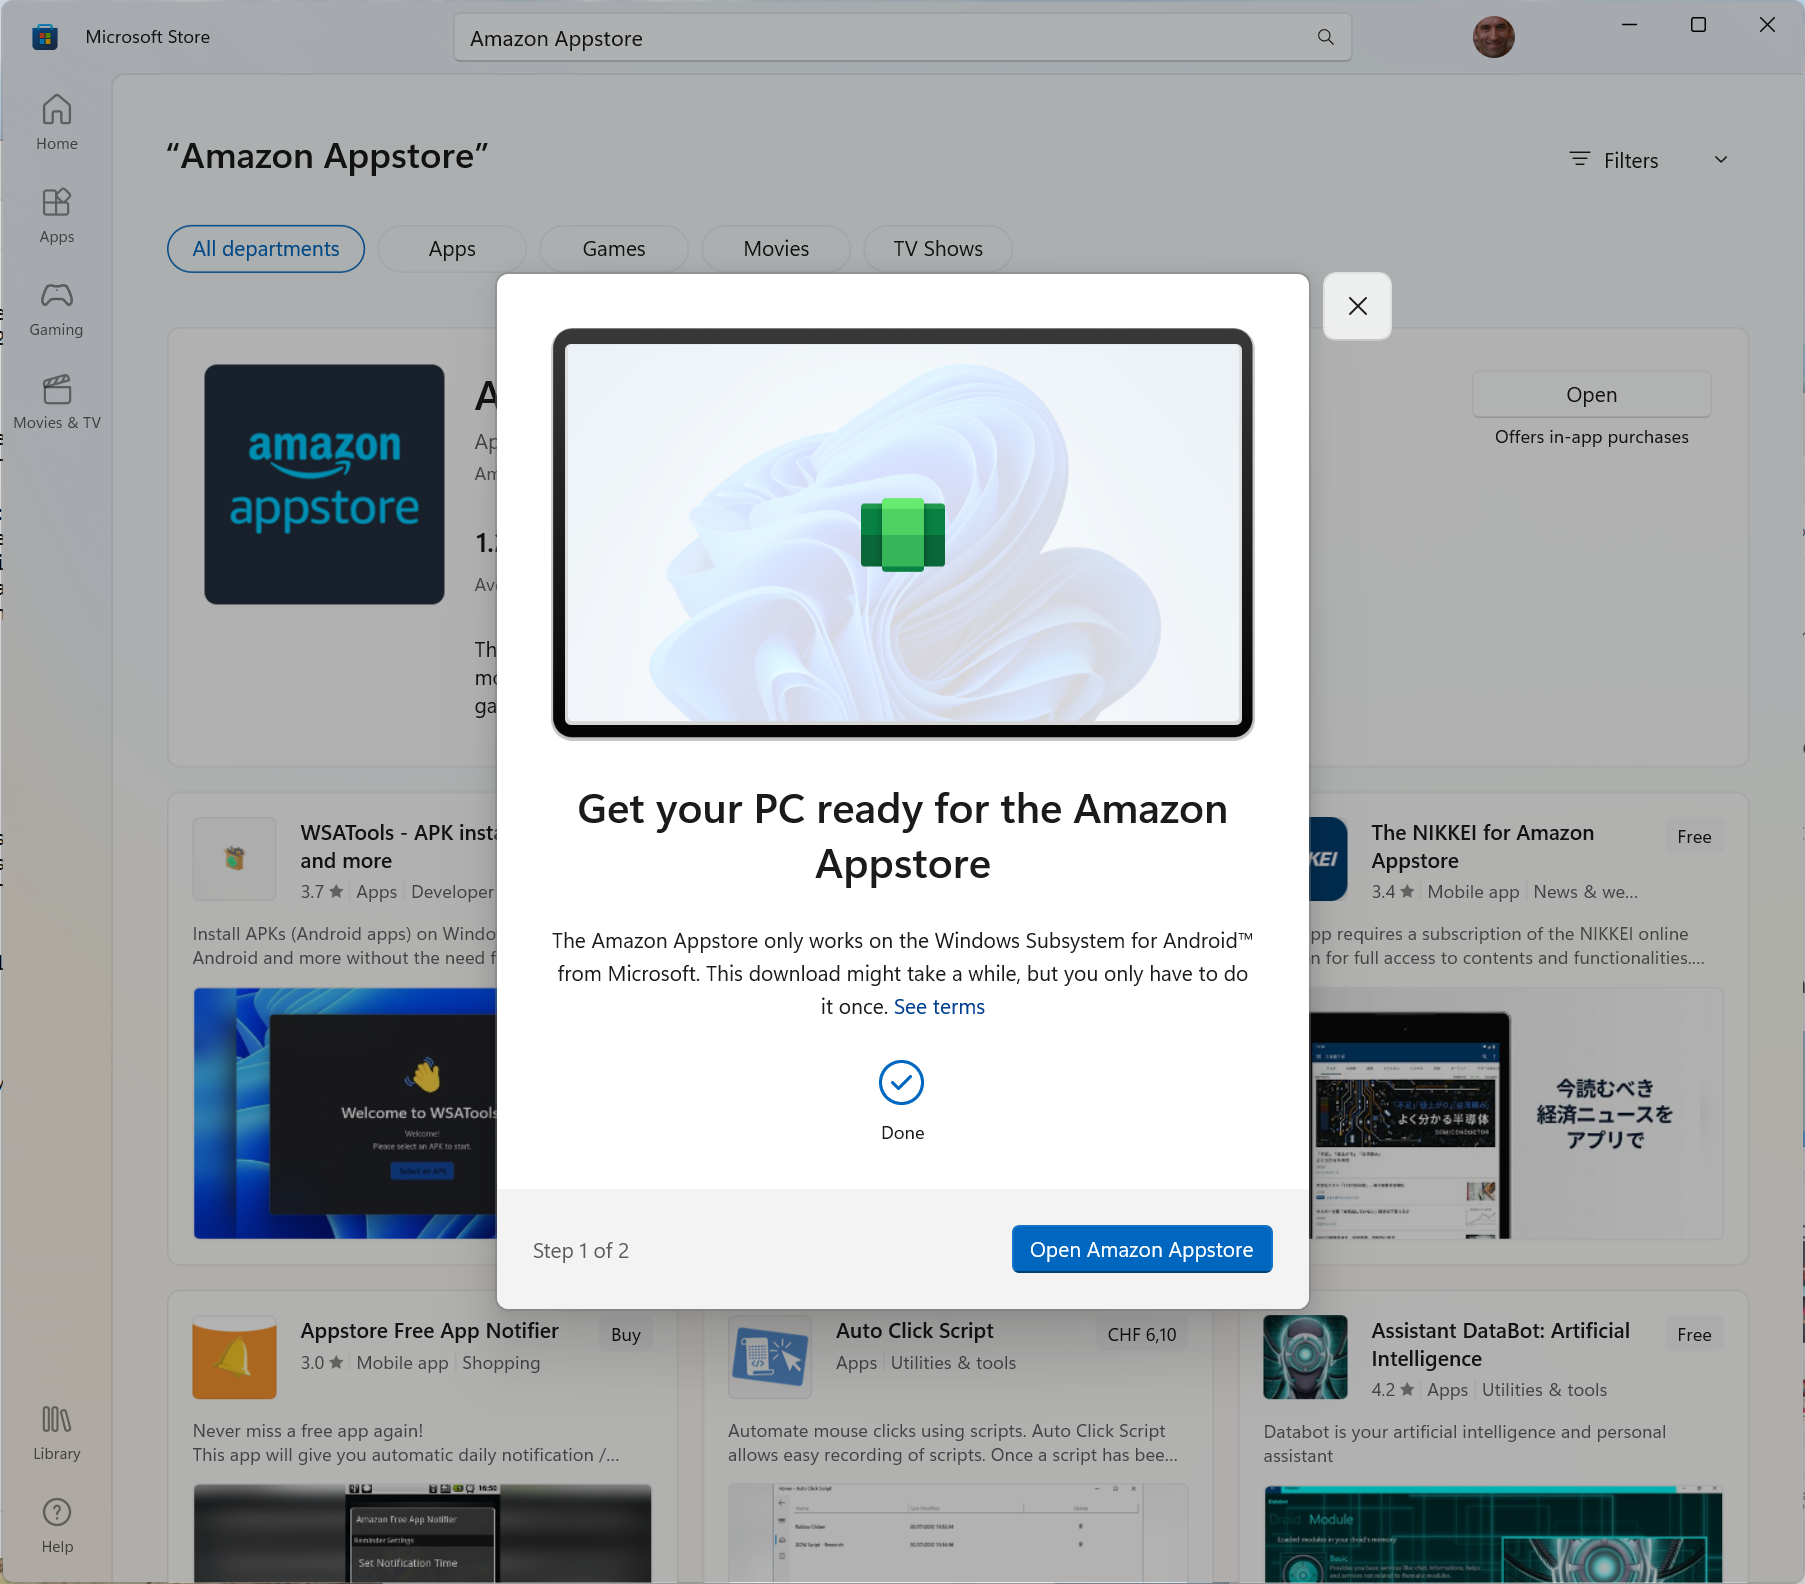
- Accept the following prompts:
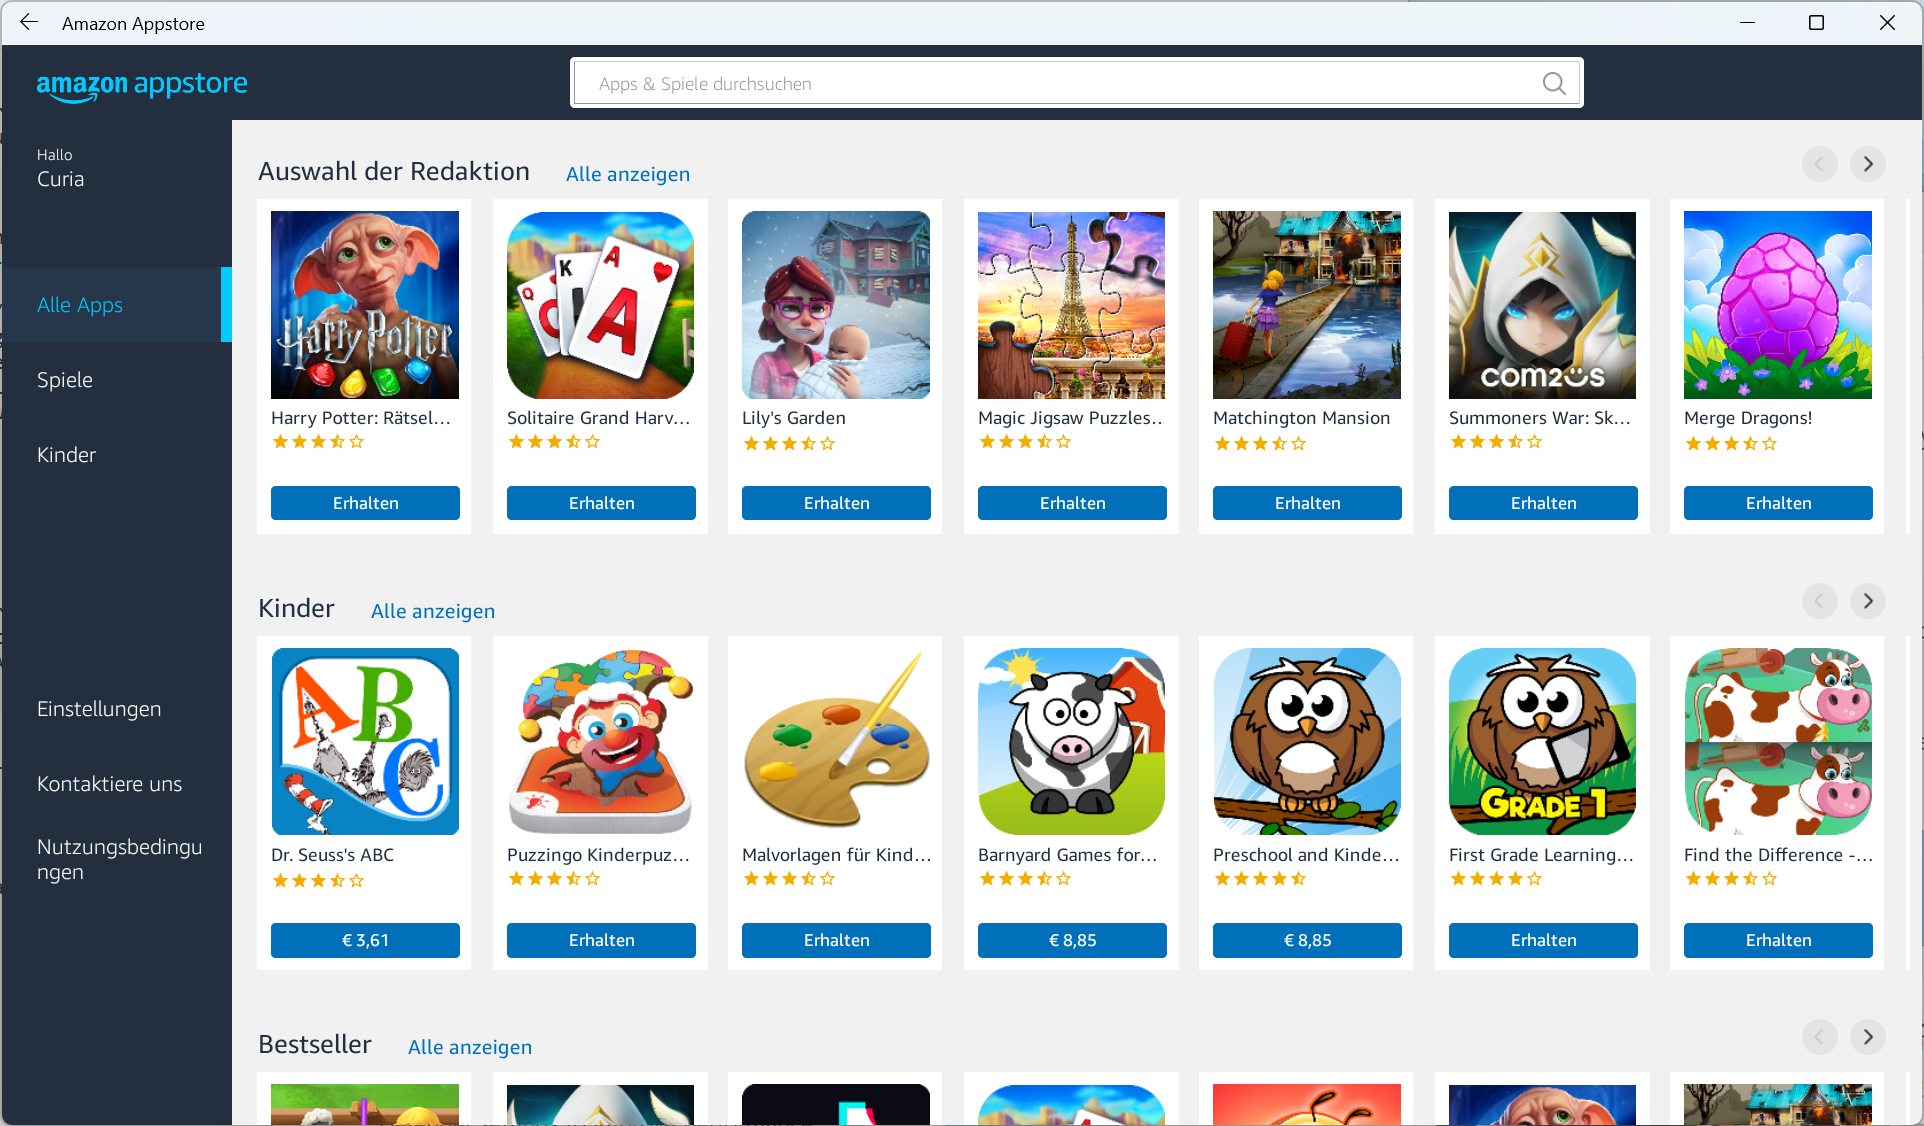
- Open the Amazon Appstore app:
- Here you need to sign with your Amazon account:

- So you will be able to access the Amazon Appstore:
It will be possible now to open the Windows Subsystem for Android Settings:
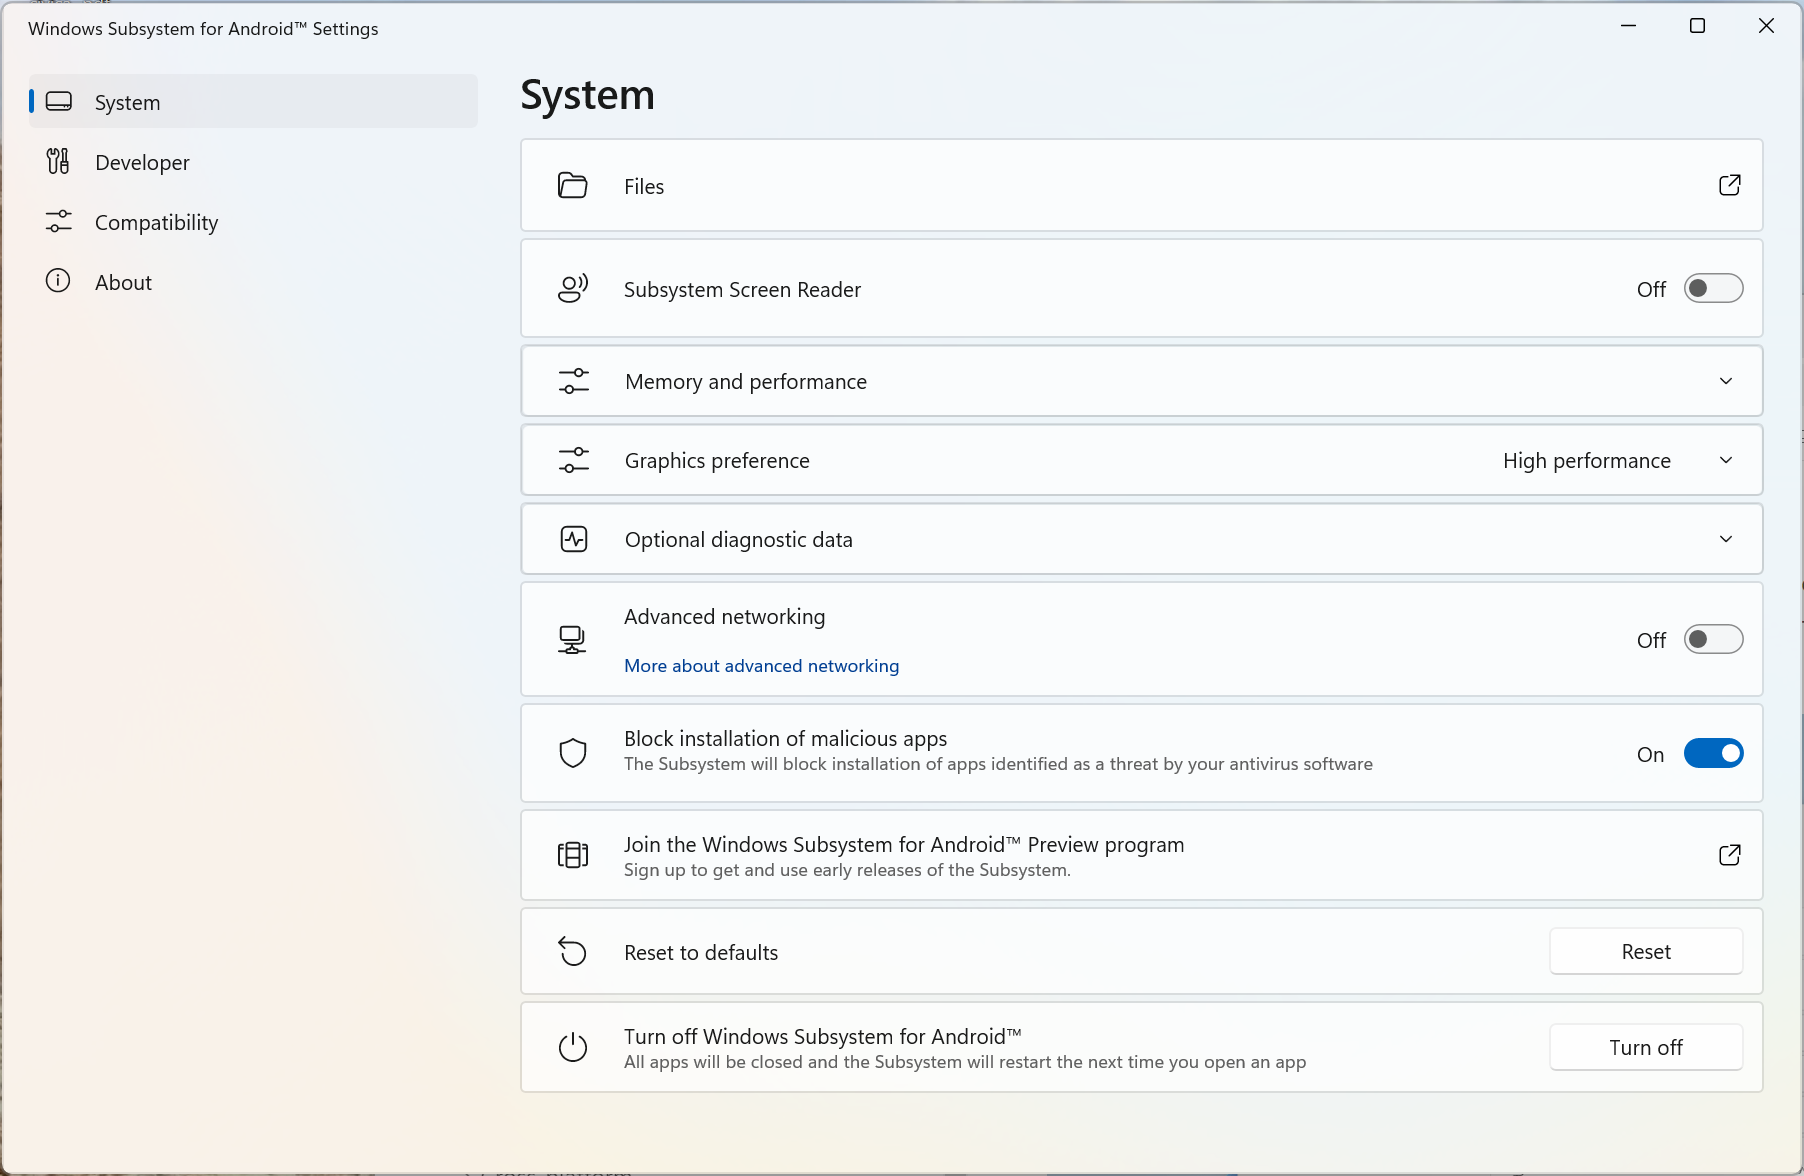
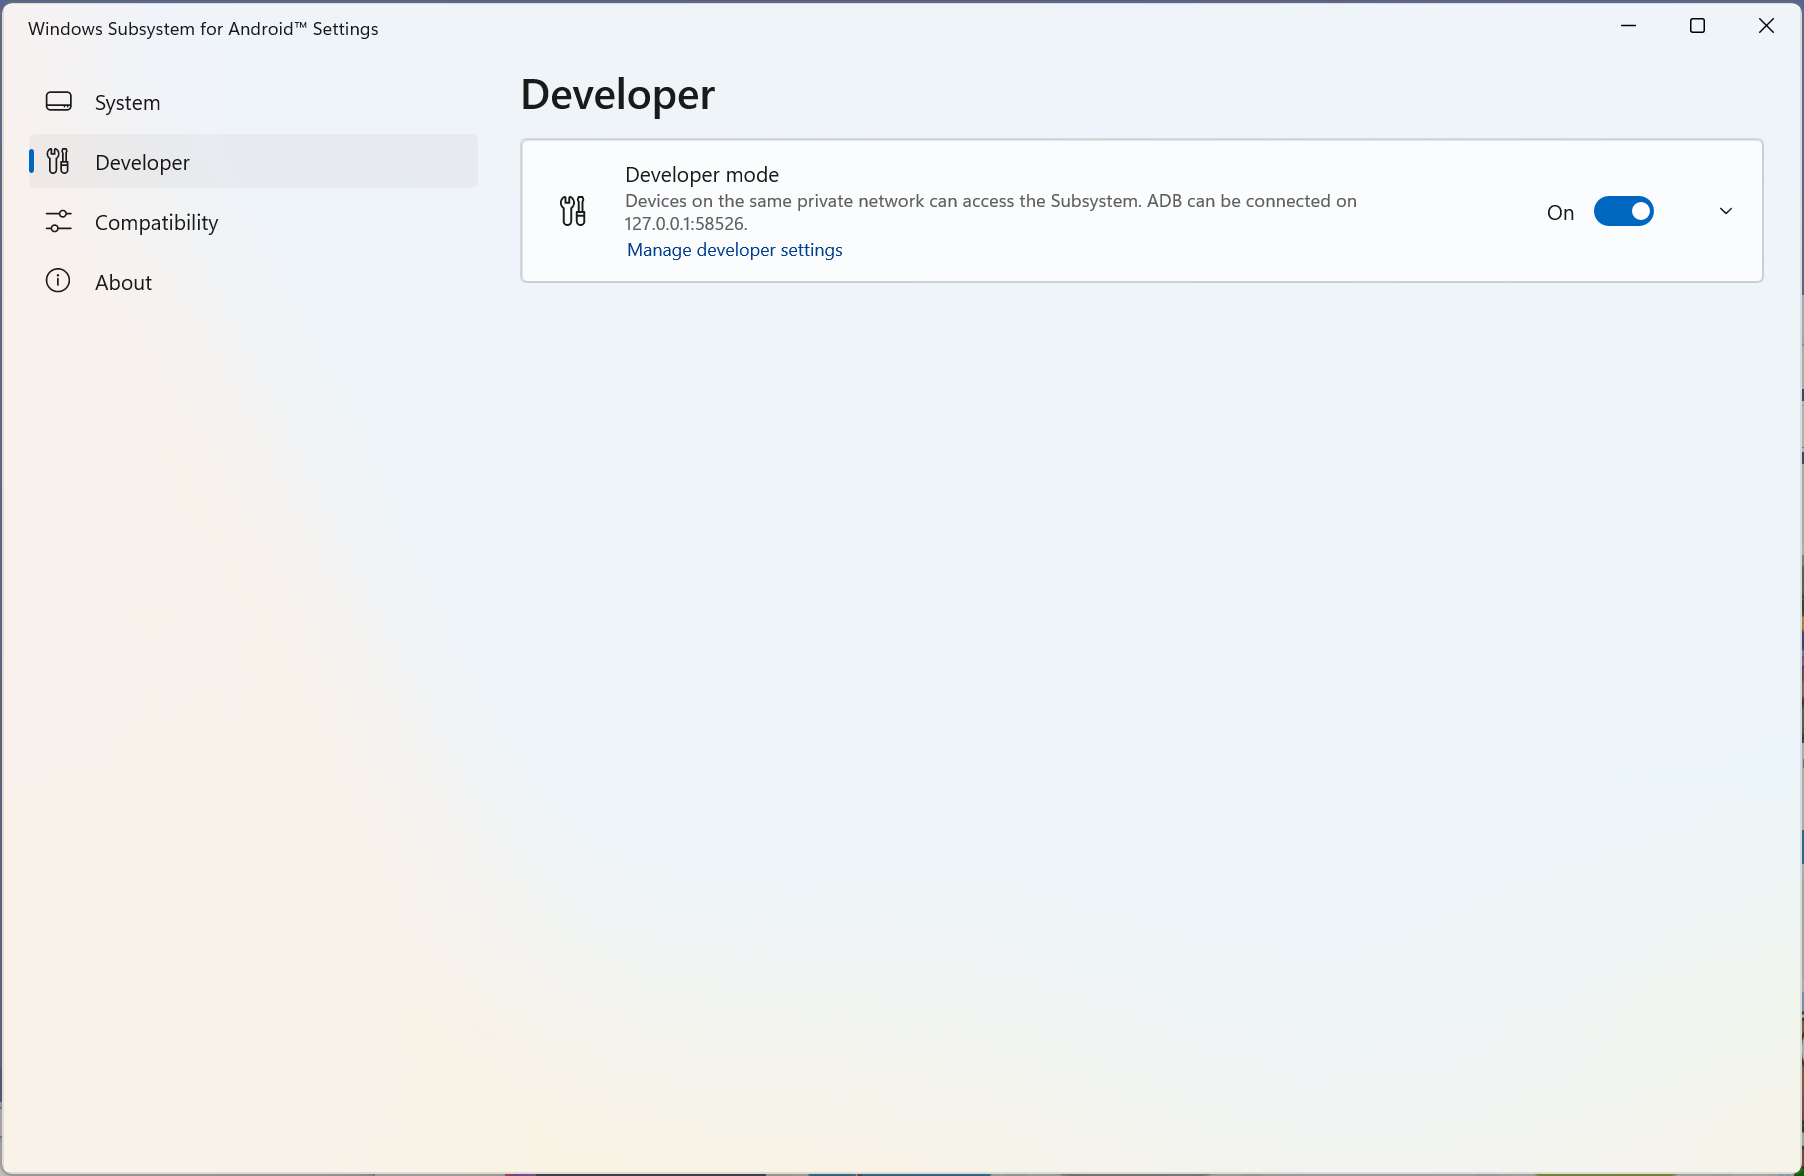
and enable the Developer Mode:
Now we can proceed with the Avalonia UI app:
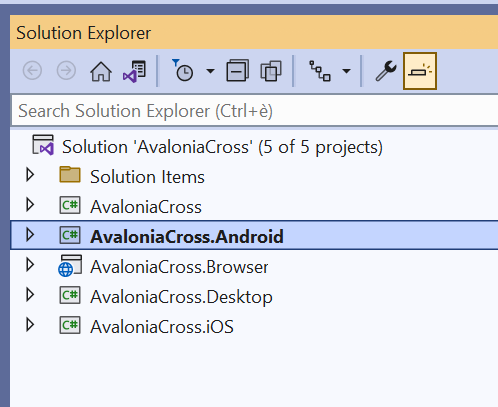
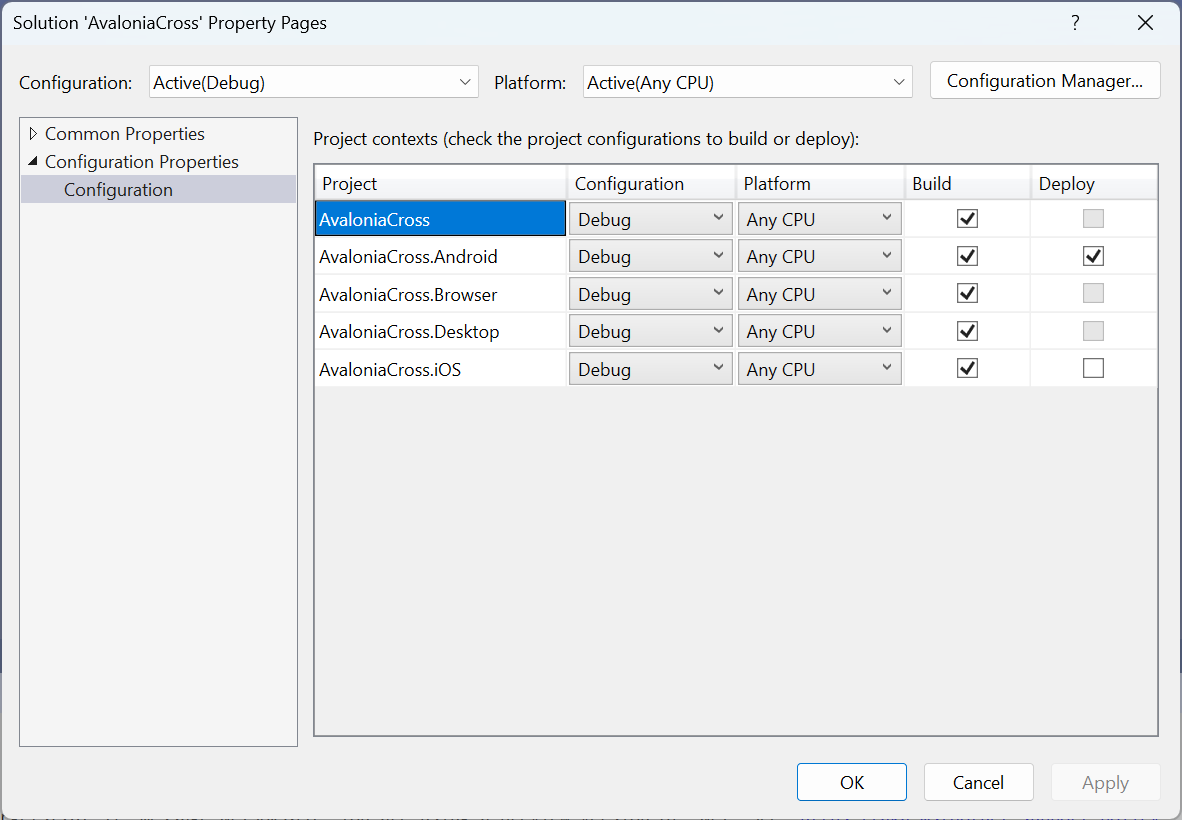
- Set the Android application as startup project:
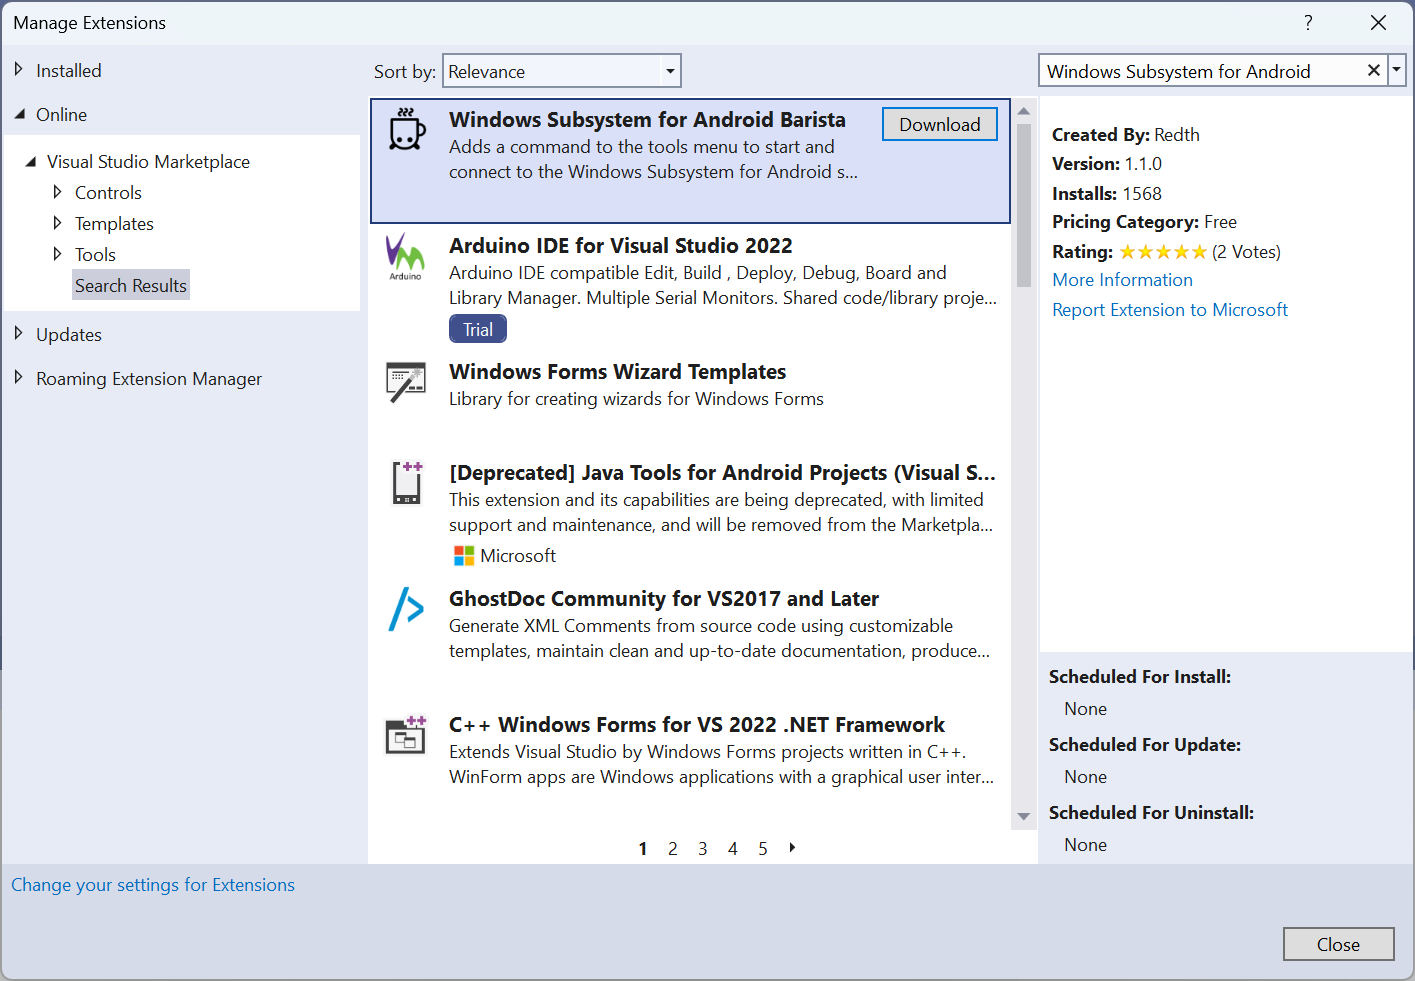
- Install from the Visual Studio Marketplace the Windows Subsystem for Android Barista extension:
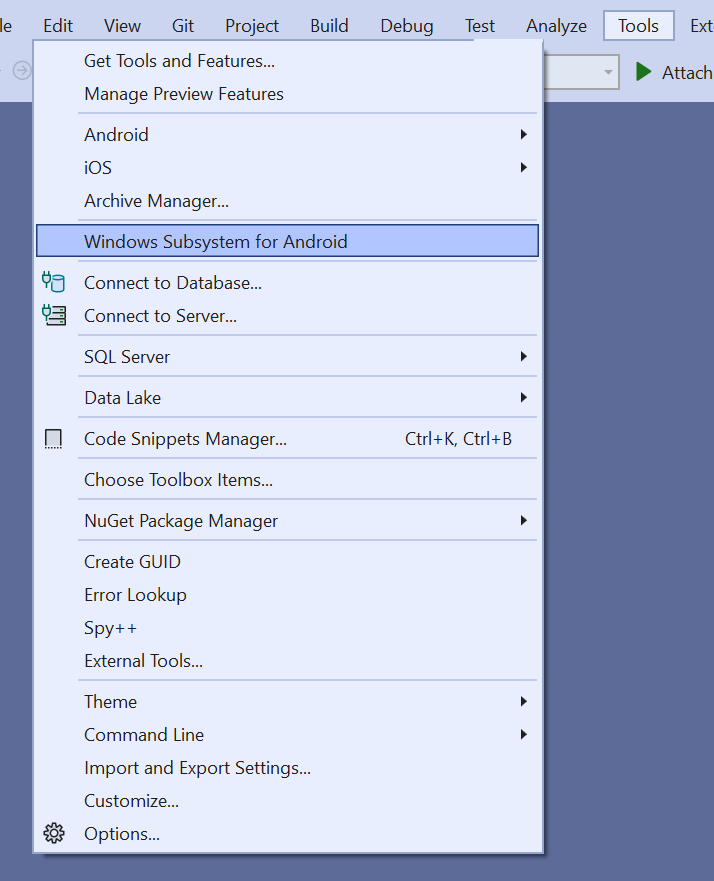
- From the Tools menu, select Windows Subsystem for Android:
- Approve the request to enable Developer Mode:

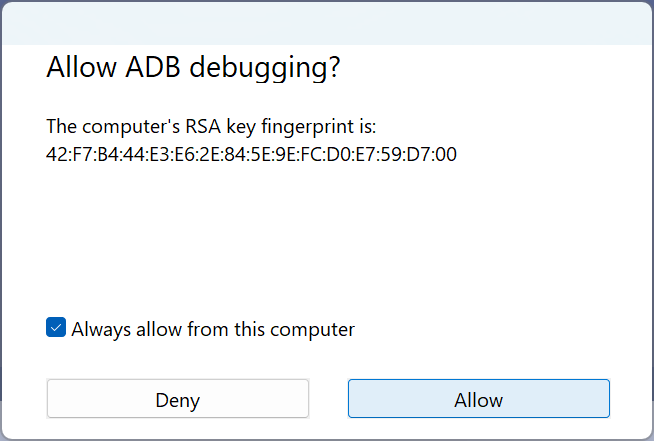
- Allow ADB debugging:
- Wait that the Windows Subsystem for Android is started:

- After some time, it will be connected:

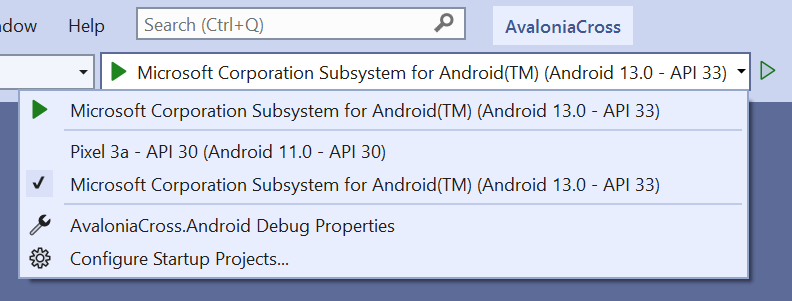
- Now, it will be possible to choose as output device the *Microsoft Corporation Subsystem for Android:
- Choose the Android project to be deployed, then rebuild the project:
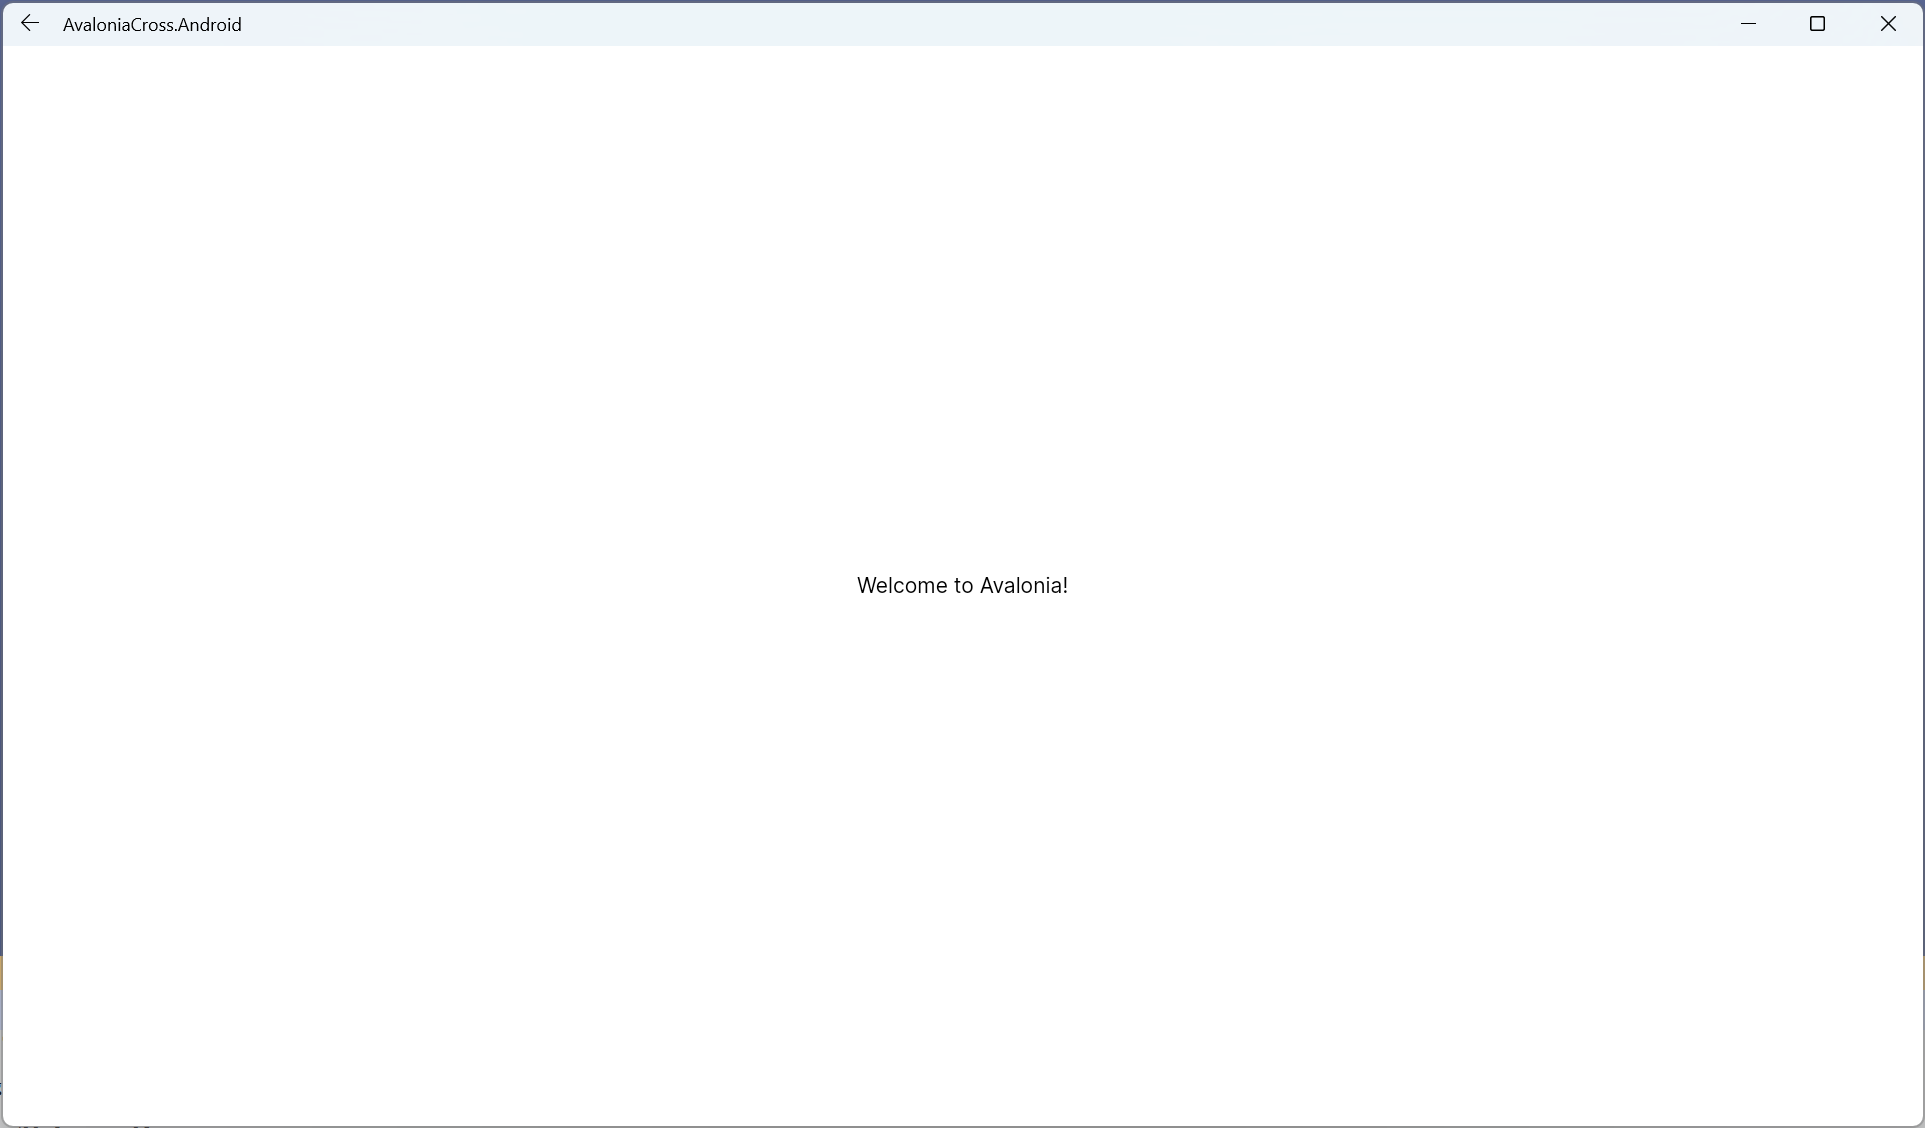
At this point, the Android application will start directly on your Windows 11 machine: