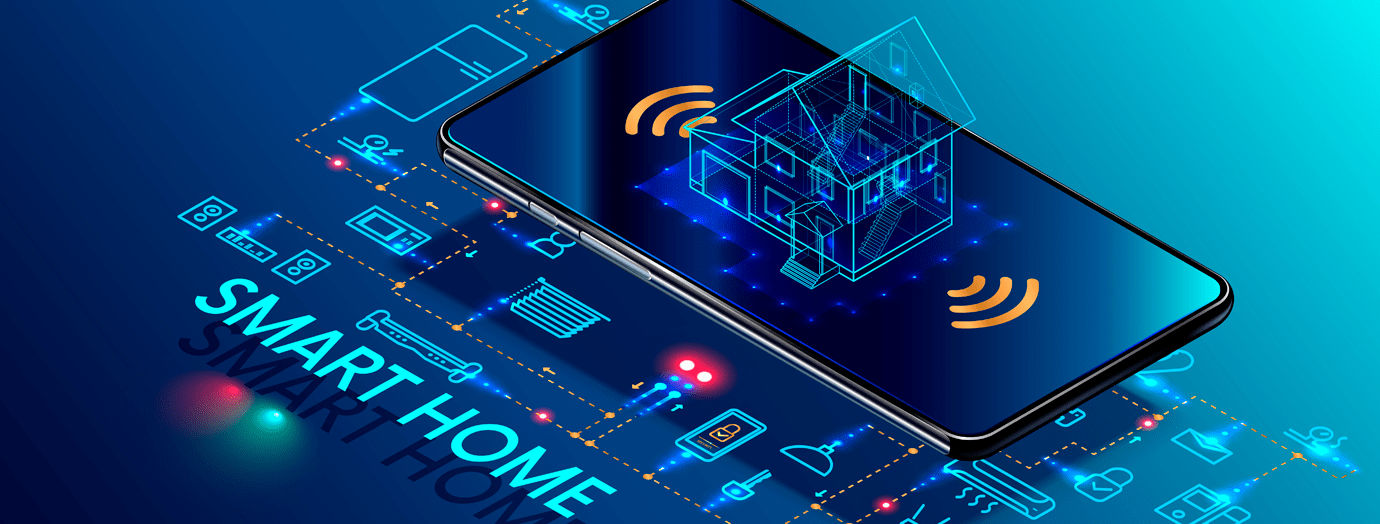
My Smart Home: Philips Hue lights, switches and sensors

In the previous post I have described the first aspects to take in consideration when setting up a new smart home.
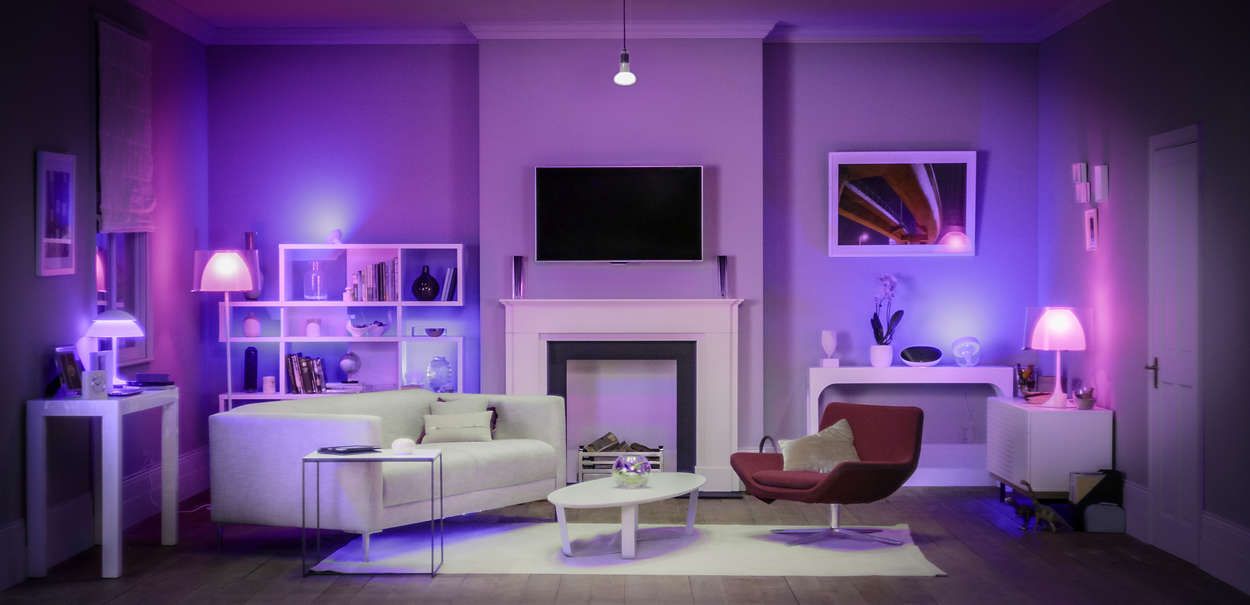
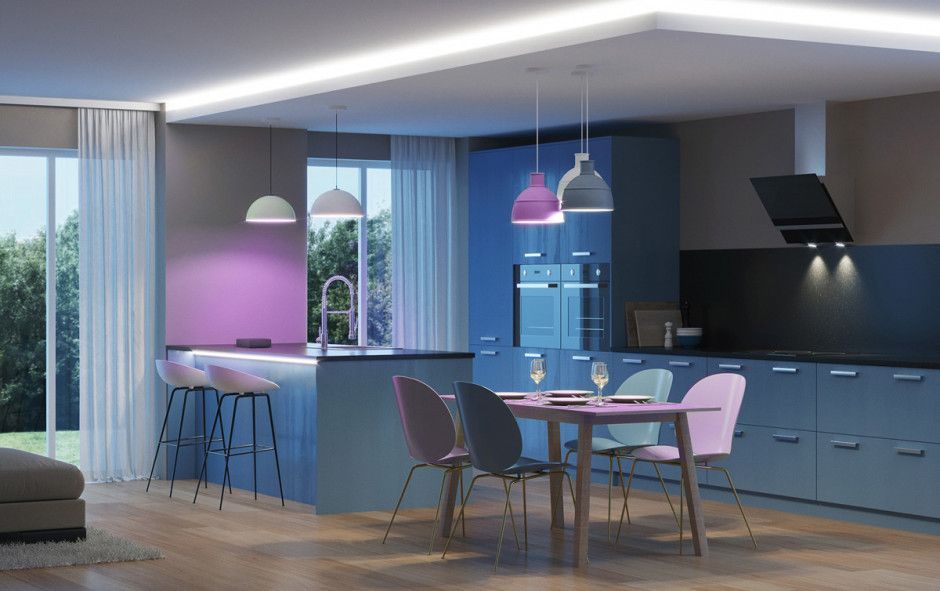
In this post I will describe my experiences specifically with the Philips Hue lights. I will follow with another post about other devices.
Philips Hue Bridge(s)
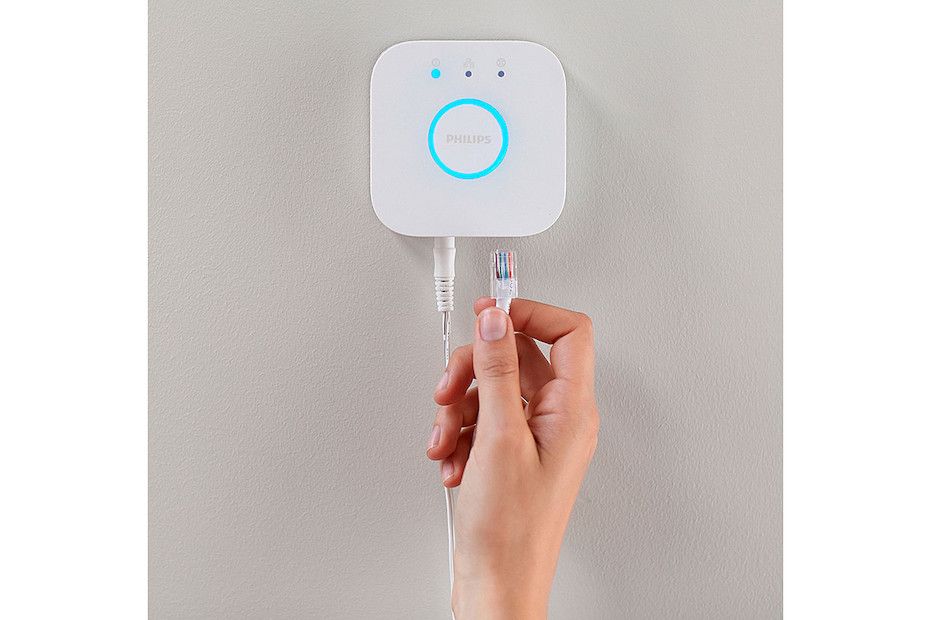
The Philips Hue light system needs one or more bridge(s) to remotely control your lights.
There are indeed new bulbs including bluetooth connectivity, but still you need to be in the same room to control them not-so-remotely. For remote and HomeKit access, you still need the Hue bridge.
There are two generations of bridges. The second generation of Hue bridge can support up to 50 lights and accessories.
When you send commands, these are sent from the bridge to your nearest lights, and from these to the one they can reach, and so on.
The maximum distance at which you can place a light from the bridge, or from another light that acts like a repeater, is not really documented. The idea is that if you have many lights at home, signals should flow more easily and ideally just one bridge should be enough.
In reality, my experience is a bit different: as the floors of my house are isolated rather well, I've found that I needed to buy multiple bridges: one for each floor where I have Hue lights.
Note that Hue bridges must be connected to your network via an Ethernet cable directly to your router and/or access points (something to consider in case you use a mesh system without output Ethernet ports and you need more bridges).
Adding the first light
The next step is to download the Philips Hue app, available for both iPhone and iPad.
Immediately after installing the app, you need to add the bridge(s), from Settings | Hue Bridges | Add Hue Bridge.
If you have more than one bridge, keep in mind that each time only one is active. When later adding lights and accessories, be sure to select the nearest bridge.
Note: if you use HomeKit, you don't need to enable "Out of home control", because this would be redundant.
After adding the bridges, the next step is to create the room(s) that will contain your lights.
This will bring many discussions later, but for now let's assume you have the simplest scenario, i.e. a room with a single light.
In this case you can create a room, assigning it a name and an icon.
Finally you can connect your light, power it, and add it in the app via Settings | Light setup | Add light | Search.
Note: to me, even with two bridges in the house, the app has never been able to detect the lights in this way. Luckily, you can also add it via serial number, that usually is printed to a sticker inside the lamp itself. So better taking a photo before mounting the light to the ceiling!
Adding the first dimmer switch
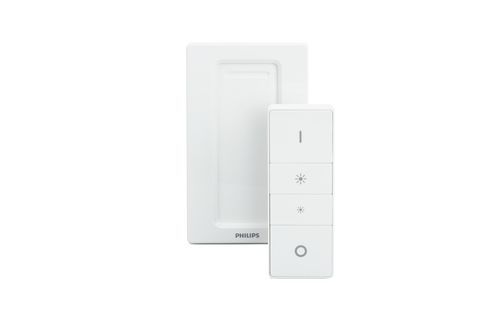
Usually Philips Hue lights come together with the Philips Hue Dimmer Switch.
You should be able to add it via Settings | Accessories setup | Add accessory | Hue Dimmer Switch.
From here, you would remove the little plastic tag inside the switch, a led should blink orange, and everything should work fine.
Note: to, after 10+ switches, it has never happened that this system works. I had to revert to resetting the dimmer switch pressing the setup button on the back for 10 seconds and try over and over and over...
Once added the switch, I suggest you to change its settings so that on the first press you don't remember the last color, but set the color you want. Otherwise, if it happens the button is mis-pressed more than once, the lamp will get a different color. After a few days, in your home you will have all lights with different tonality, not really nice.
In my case, we have chosen the Concentrate color, that corresponds to Color Temperature 222.
Even if the switch has four buttons, from the Hue app you can configure only the first button. In case you want to program the other buttons, you must do it from the Apple Home app.
Adding the first motion sensor
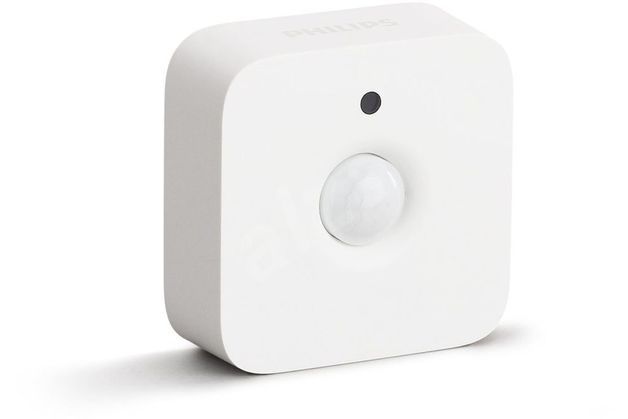
Enjoying the Hue system, after the basic lights I started adding a few Hue Motion Sensors.
I have installed them in the bathrooms and in the kitchen, so that entering there the lights switch on automatically, and off as well, some time after leaving the room.
For once, adding them to the Hue app is flawless. You must go to Settings | Accessory setup | Add accessory | Hue Motion Sensor.
After having added the sensor you can choose to switch on the light when motion is detected and off when there is no more movement. You can define two time ranges, one for the day and one for the night. For each time range, you can choose a different color temperature (maybe you want a warmer light during the night) and after how many minutes to switch off.
Very cool is that you can define two parameters:
- daylight sensibility: how much dark must be the room to switch on the lights;
- motion sensibility: how much motion the sensor must detect before getting triggered.
Note: I have noticed that in some cases, after the light is switched off because of lack of movement, if immediately there is movement, the light doesn't switch on back. That is a bit annoying and I would be happy if it would work a bit better, because otherwise I am very satisfied with these motion sensors.
I would like to add that the motion sensor include also temperature and light sensors.
How to add two lights to the same room
Once you start to be enthusiast on the Philips system, you will want to add more lights to the same room.
The issue is that by default the switches of both lights will be assigned to the same room and will turn on and off all the lights of the whole room.
In the past, the only available solution was to add multiple "fake" rooms, like Near The TV and Near the Piano. Clearly this is not an optimal solution, because it will clutter your setup and all these rooms will be reflected in HomeKit as well, while you would like instead to have a single room Living Room.
Luckily, some time ago the Hue app has added the concept of Zones. Zones are grouping of lights and accessories with a name.
I describe here how to perform this setup properly:
- add the Living Room room;
- add the Near the TV and Near the Piano zones;
- add the light near the TV to the Living Room room and to the Near the TV zone;
- add the light near the TV to the Living Room room and to the Near the Piano zone;
- add the first switch to the Near the TV zone and the other switch to the Near the Piano zone.
In this case, you will be able to:
- use the switches to turn on and off each light independently;
- ask Siri to turn on and off each light independently;
- ask Siri to turn on and off all lights in the room.
My complain about this solution is that it is clearly a walkaround, it is cumbersome. And you can't intuitively make a zone as part of a room, so I need to add the lights to the zones and to the container room.
How to add lamps made of multiple bulbs
This is another case that has a solution similar to the previous case: differently from some led lamps, there are multiple lights composed of multiple bulbs.
By default, each bulb is seen as different light!
In the past, you could not solve this problem at all. You had to group the lights later in HomeKit.
Luckily, with the introduction of zones in the Hue app, the solution is very similar to the previous case:
- create a zone with the name you want to assign to the light;
- add both bulbs to this zone and to the containing room;
- add a switch and eventually a sensor to this zone.
Other issues
The Hue app is definitely improvable
The biggest issue I have now, is that the two bridges act completely separate between each other. They don't see the lights associated via the other bridge.
Moreover, all the sync is done going through HomeKit... it's really like if they are devices from completely different manufacturers!
So, when switching between bridge, it happens often that you find already deleted rooms, or that some lights and accessories are moved to the Default Room.
So, you have to switch between the bridges and HomeKit multiple times, until all syncs are done and you don't get any more errors or accessories in the default room.
HomeKit is definitely improvable
Initially I have programmed switches and motion sensors to react from HomeKit, but I have found often delays are not 100% reliability (in the past there was also the issue that the Philips app was exporting a maximum number of switches to HomeKit, but then this number has been increased and it is not an issue for me).
Because of this, I have configured all the switches and motion sensors from the Philips app.
I feel that this is a good compromise, because I have better response time, but I don't give up on privacy (as said, I don't use the Philips remote access) and still I can program switches and motion sensors from HomeKit in case I need to integrate with other devices.
Now the switches work perfectly, while motion sensors have the issue described above, i.e. after being switched off, they need some time to feel movement again.
Once asked Philips about how to resolve this last issue, they were not even aware of it...
Conclusions
Concluding this long blog post, I would like to say: I am very satisfied with the Philips Hue hardware.
About the software, I see improvements over time. What is strange, is that the users with more lights and accessories are the most penalized: the cases with multiple lights in a room, or lamps with multiple bulbs, are really not user friendly. If then, like me, you have more bridges, then for sure you are the most irritated.
For sure, making everything to work properly is not easy and take a lot of work and experimentations to make it right!